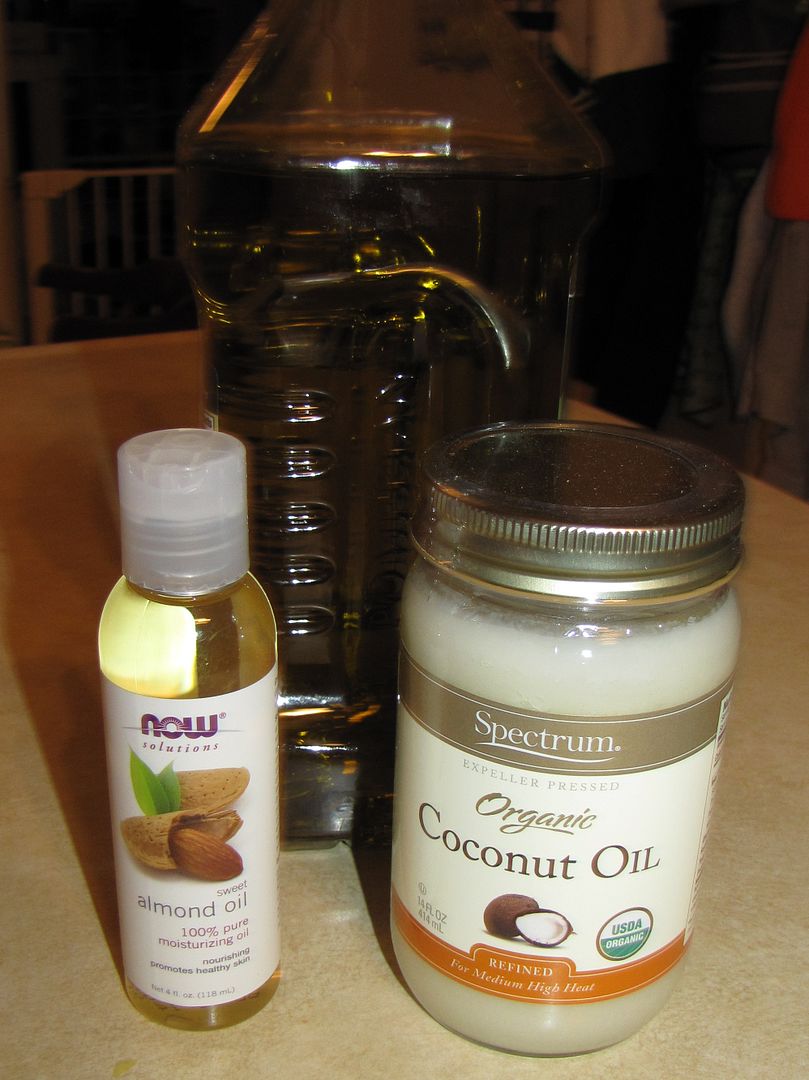
You can find many different recipes for lotion bars. Most include beeswax, a butter of some type (shea, cocoa, coconut, etc.), and oil. After some experimentation, here is what I decided on for mine - Shea butter, Beeswax, Coconut Oil, Almond Oil, and Olive Oil.
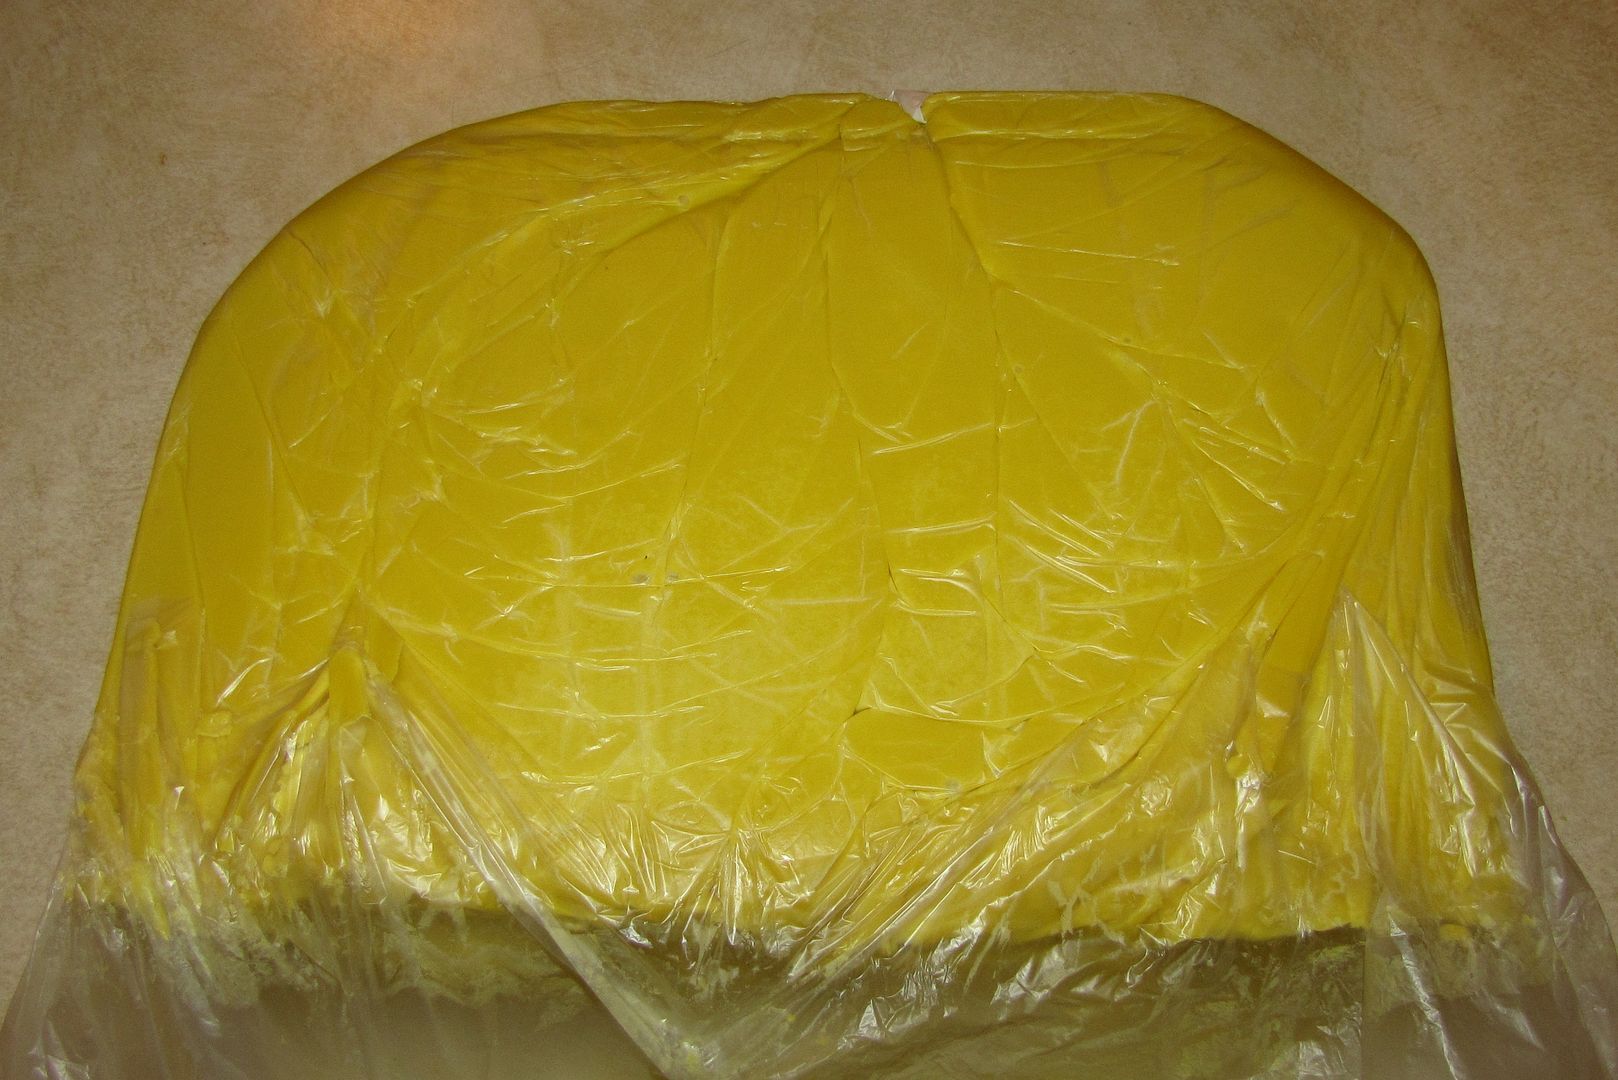
Shea butter is pretty much a staple in my house during pregnancy. I go through an 8 ounce container of it each month in an effort to prevent stretch marks and an itchy belly (four pregnancies and no stretch marks, so it must do something helpful). Aside from being a great moisturizer, in Africa where the butter is harvested, it is used as a sunblock and also as a massage oil for painful joints. This makes it the perfect ingredient for lotion.
Shea butter can be pretty expensive if you buy it at your local health food store in a tiny jar. It runs me nearly $10 for an 8 ounce jar. But you can find great deals online in bulk. For this project I found five pounds for $15 (plus shipping) on Amazon.
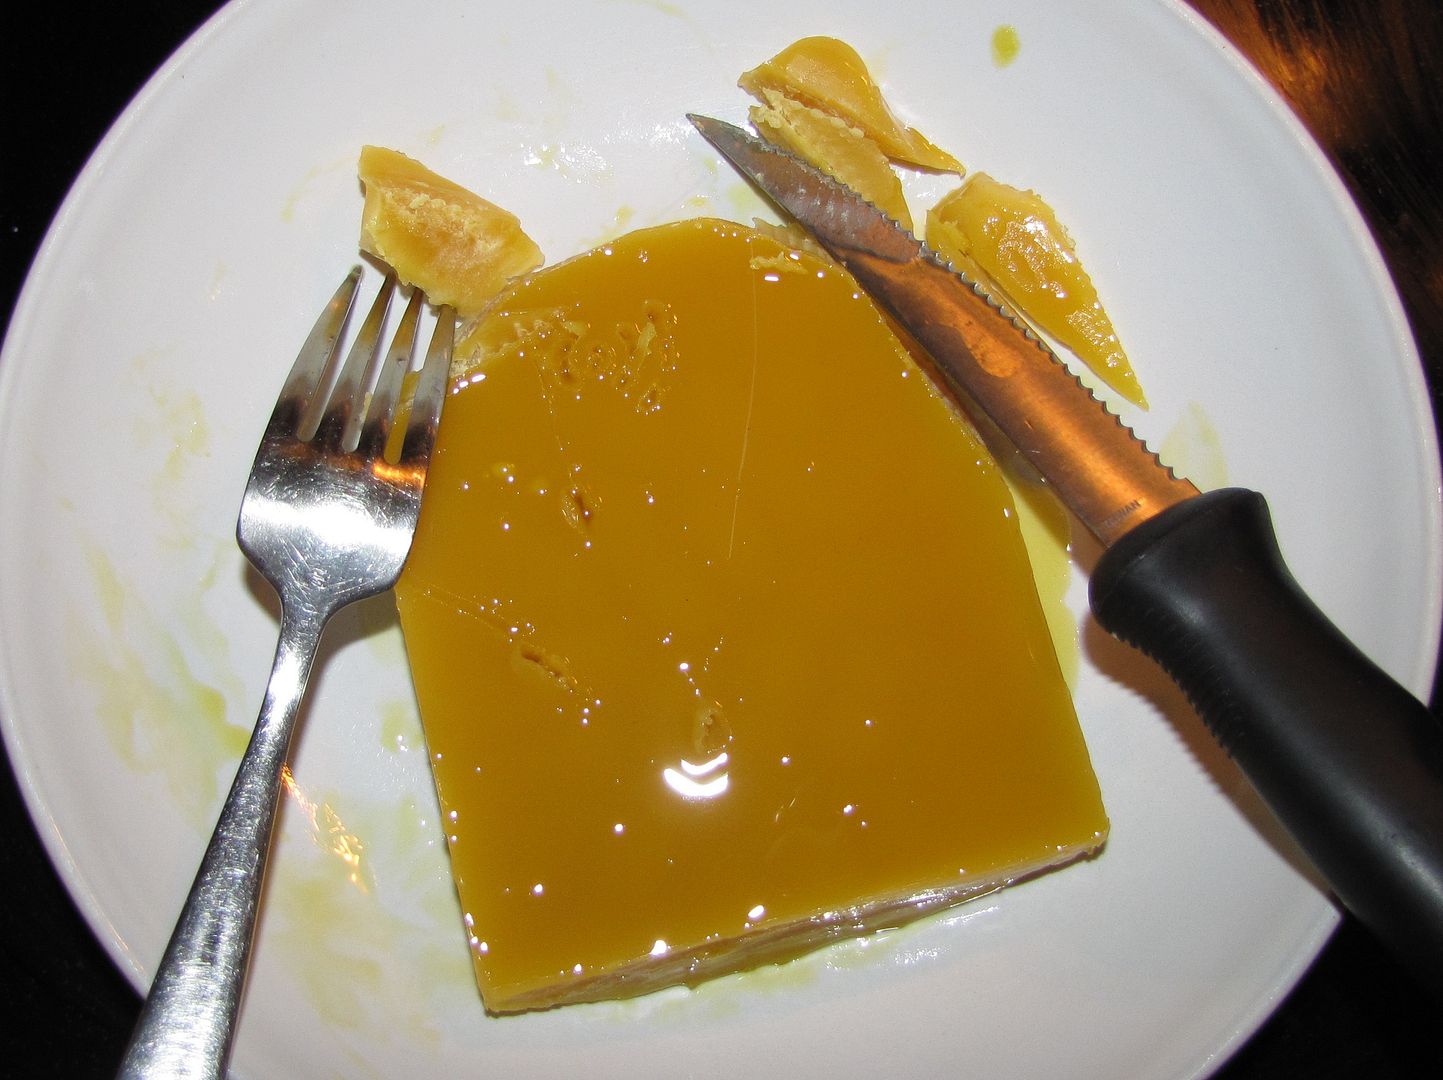
Beeswax is obviously included in the recipe to help solidify the mixture.
Coconut Oil has many wonderful benefits for your skin - it can help protect you from infection, prevent aging, heal bruises, clear up rashes, and treat skin conditions like psoriasis and eczema.
Almond Oil is a great lubricant that also helps with skin conditions and can fight aging.
Olive Oil is great for dry skin and some scientists believe it can also protect your skin against sun damage and cancer.
Once you have all of your ingredients, the process is very similar to making lip balm. For my recipe I used 1 part shea butter, 1 part oil (1/2 coconut, 1/4 almond and 1/4 olive) and 1/2 part beeswax. Most recipes call for equal amounts of each, but I wanted my lotion to be a little greasier and less solid.
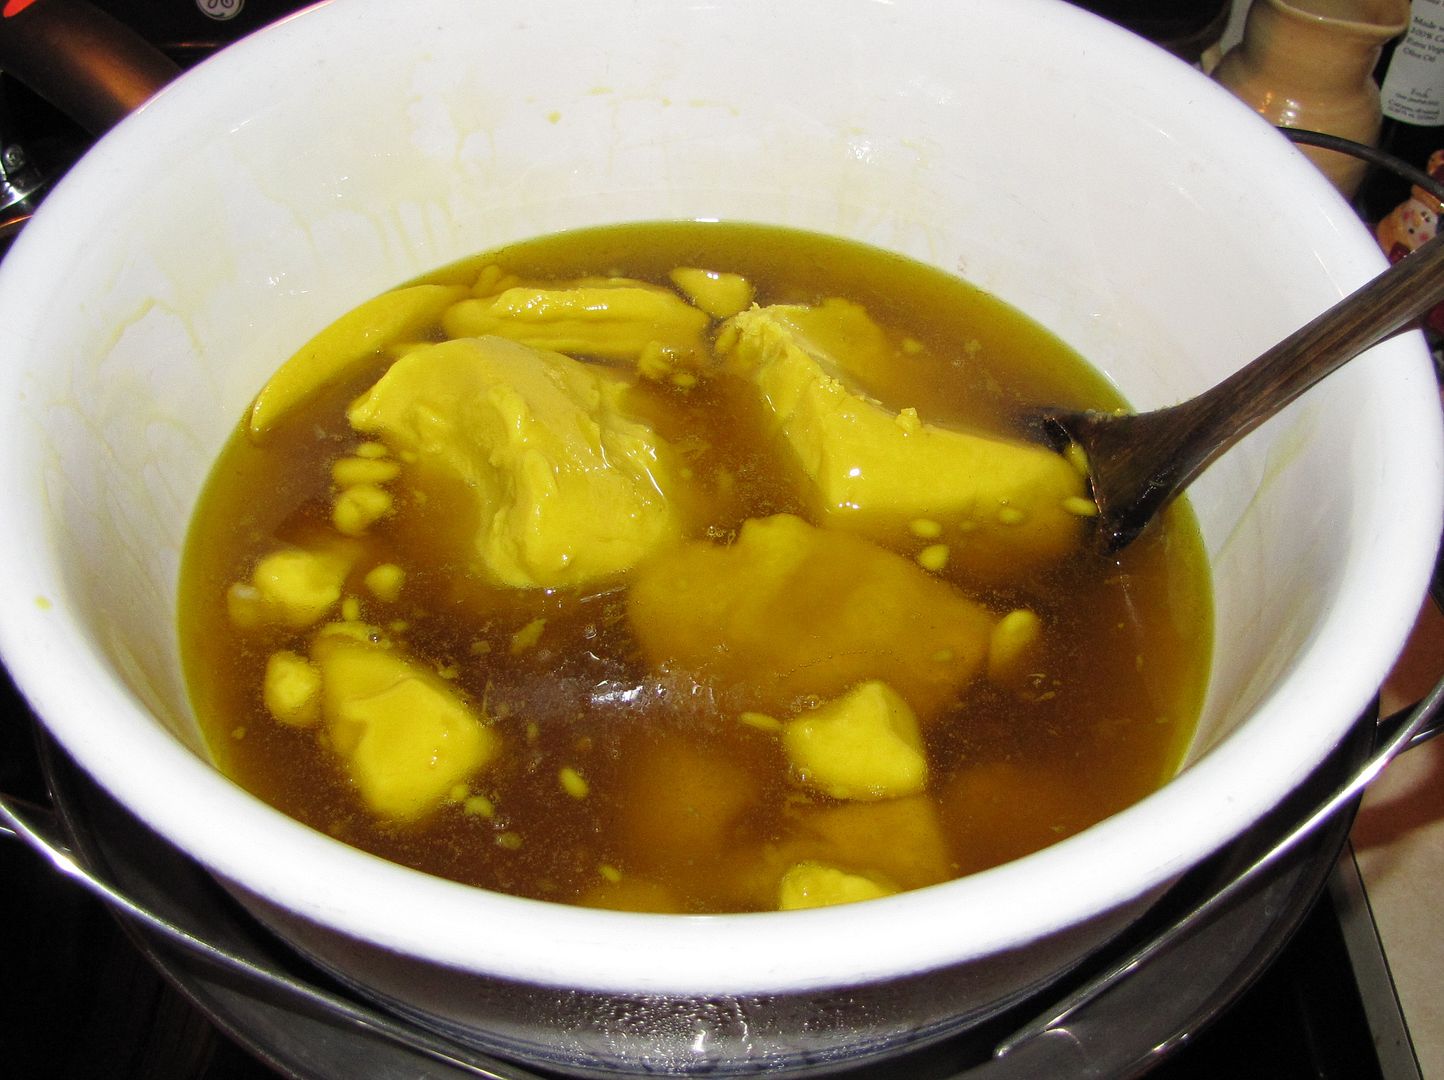
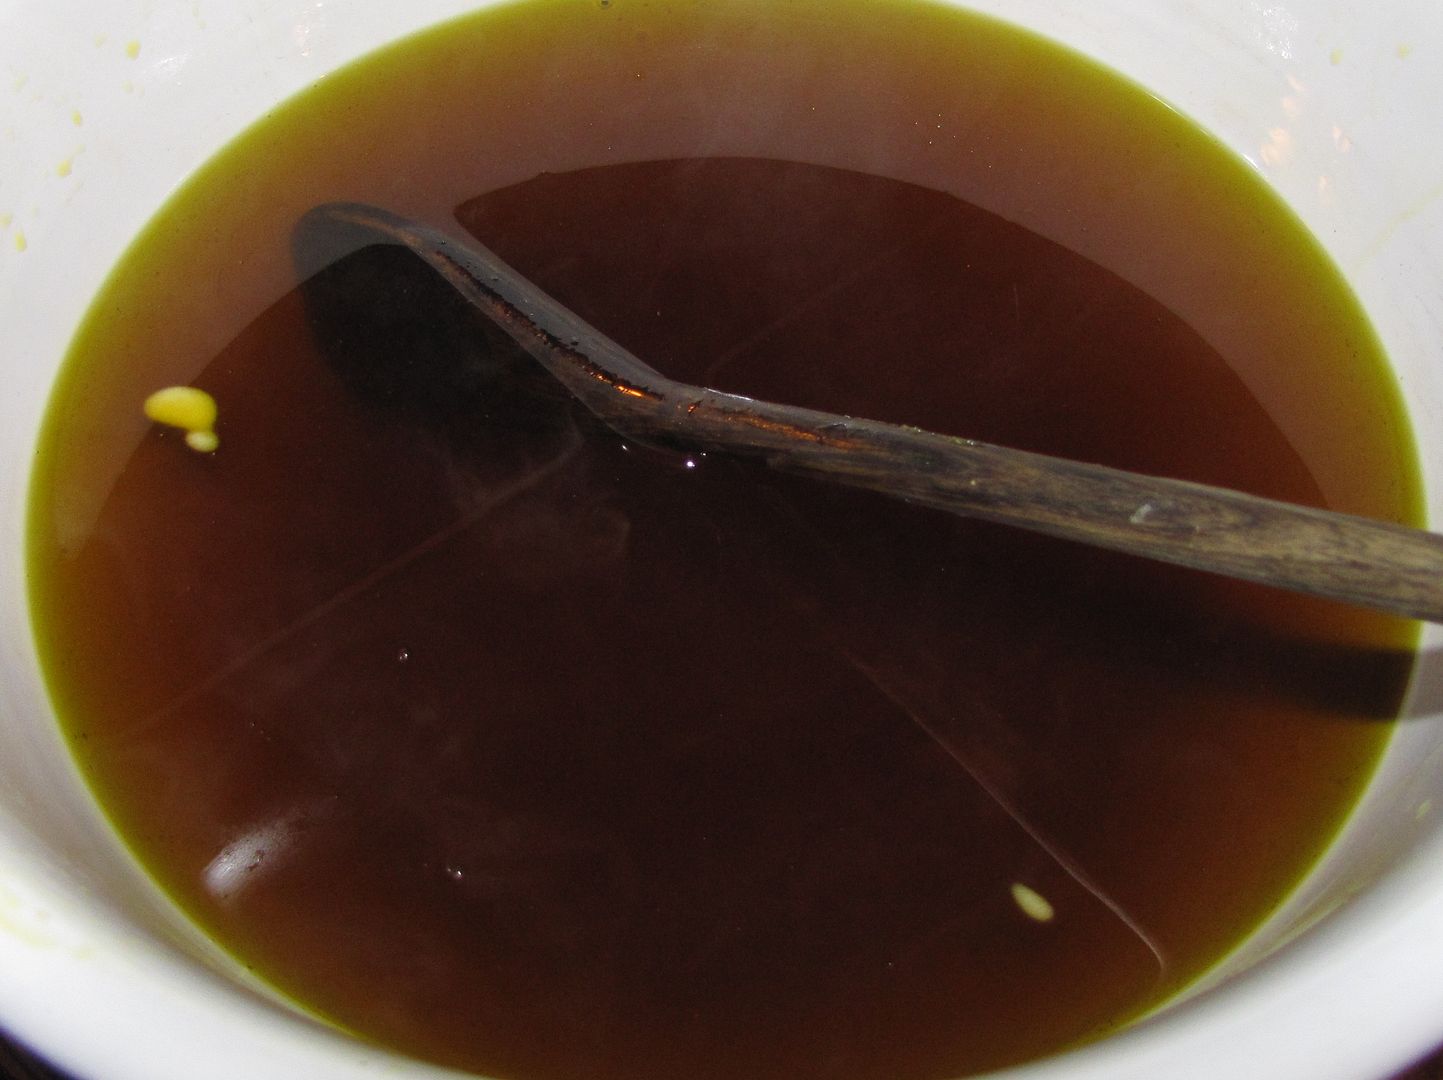
Throw all of your ingredients into your double broiler and let them melt.
Remember, it is much easier to melt the beeswax if it is grated, however, another way to speed up the process is to throw your solid chunk of wax on the heat for a while and once it softens, remove it and chop it into smaller chunks.
Once everything has melted you are are ready to fill your forms.
If you prefer a scented lotion, now would be the time to add your essential oils - once everything is off of your heat source. If you're using cocoa butter, it has a very chocolatey smell, and some essential oils aren't going to mix well with it. Shea butter has a distinct smell that is very earthy. I prefer to leave it unscented, but if you don't like the earthy scent, something like lavender oil would be nice. Just remember that you DO NOT want to use citrus oils on a lotion that you will use before you head out into the sun. Citrus oils are phototoxic and can burn your skin, leaving permanent dark patches.
Something to consider if you're thinking pretty far ahead of time is infusing your own oils with fragrance. You could clip fresh herbs and flowers from your garden, or use your kitchen spices, and place them in a jar with the oil you plan to use for your lotion. Put the jar in a window sill and let it sit for a few weeks to a month. Calendula-infused oil would be great for eczema and other skin conditions.
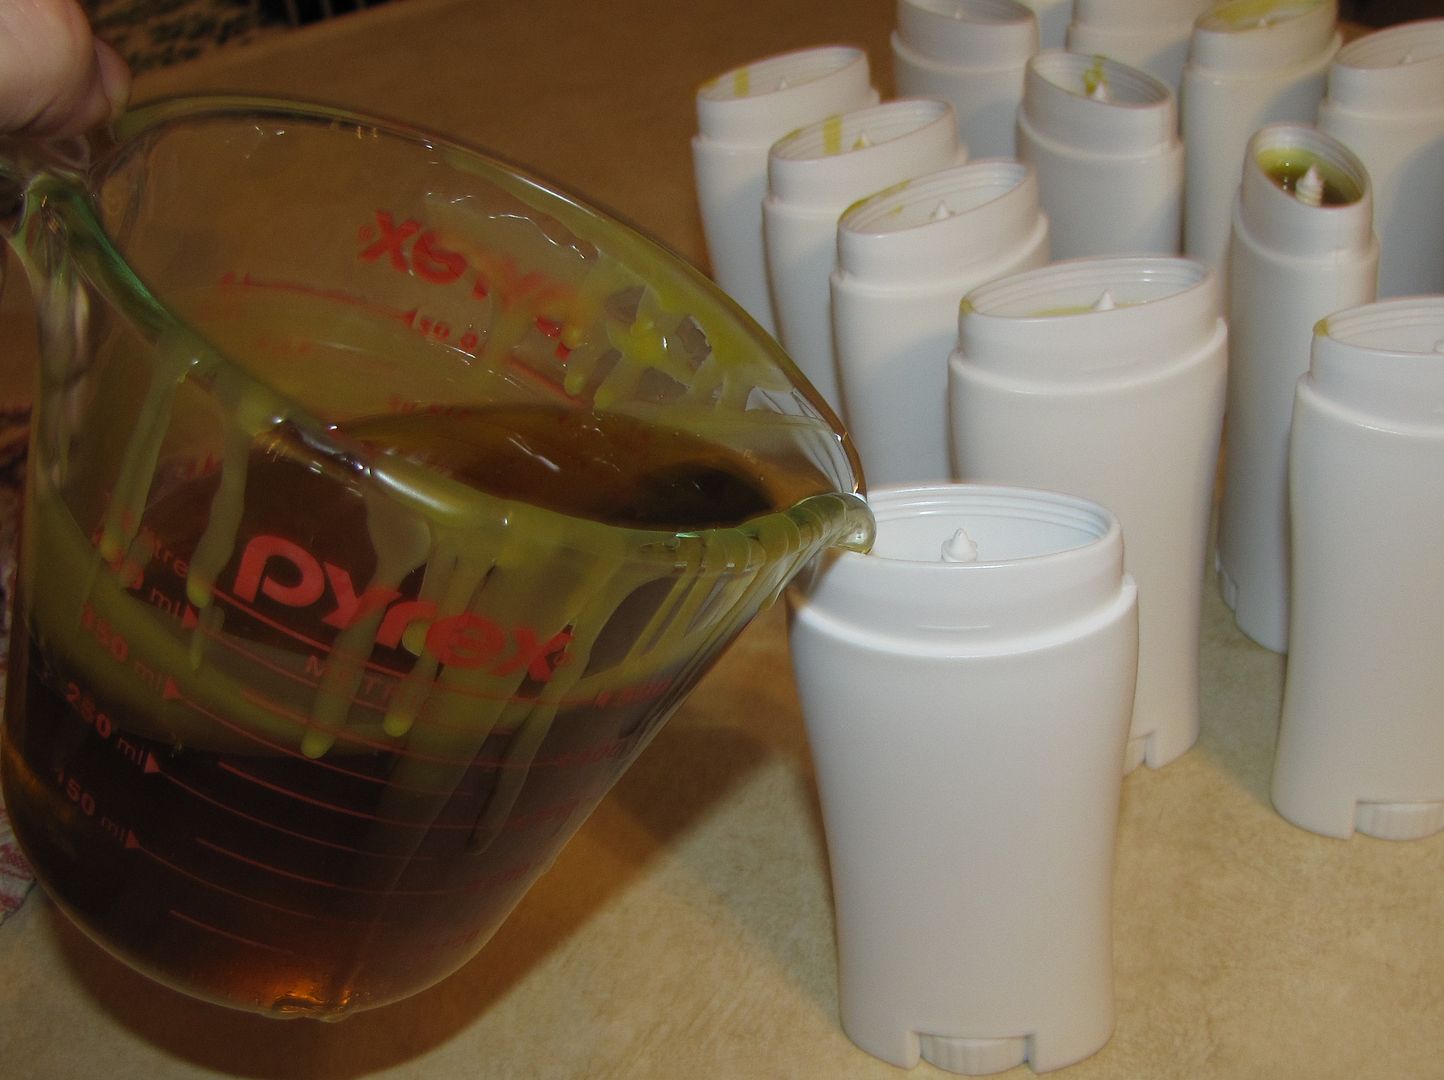
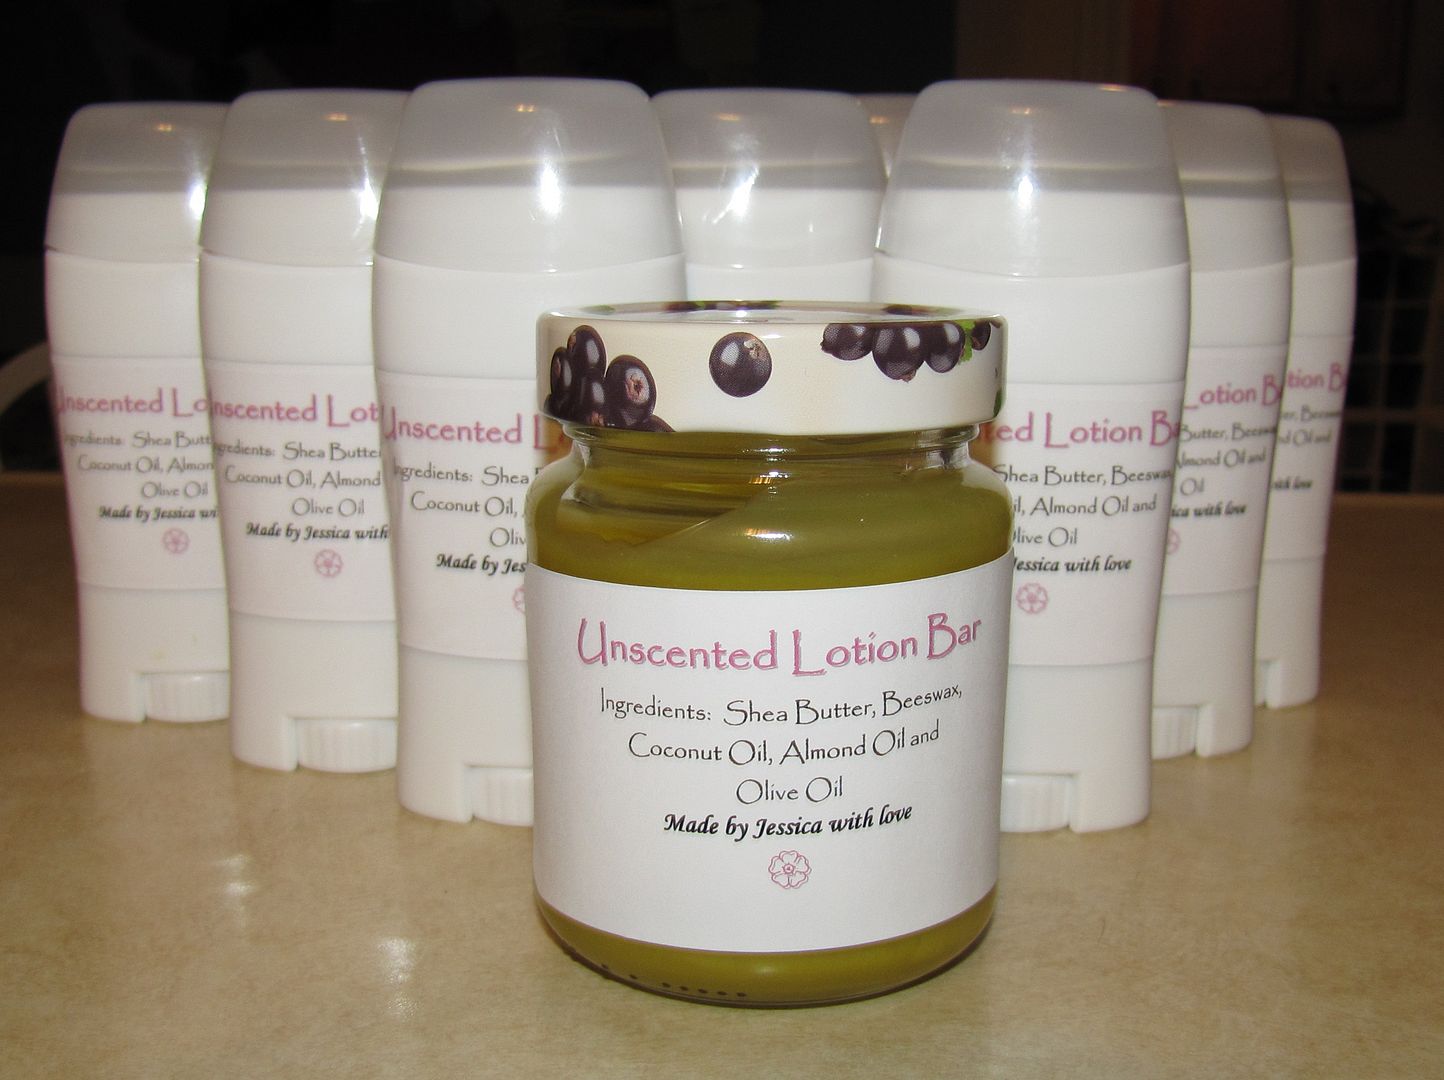
Some people like to use silicon molds to create their lotion bars. These are cute and can be placed in a small tin or jar for storage. I prefer something that keeps my hands from getting too greasy when I apply it, so I purchased some empty deodorant containers. These can be reused when I'm done with them. To fill I used a ladle to get my hot mixture from the double broiler and into something with a spout.
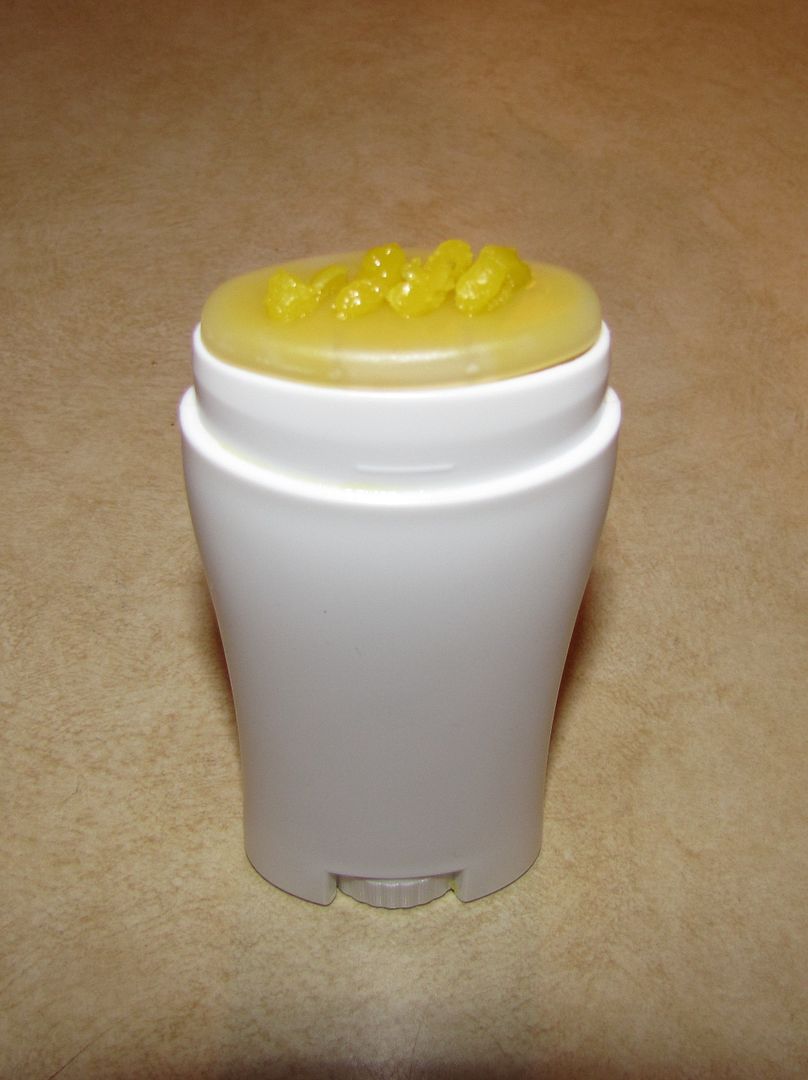
If you're using deodorant containers and you want to use the dispenser tops that come with them, your recipe needs to have a high percentage of oil. If it is too solid, your lotion will not squeeze through the holes and will just pop the top off. If you're using them, make sure you don't fill the containers all the way to the top so you can still pop on the dispenser.
If you prefer to skip the dispenser top, you can fill to the top.
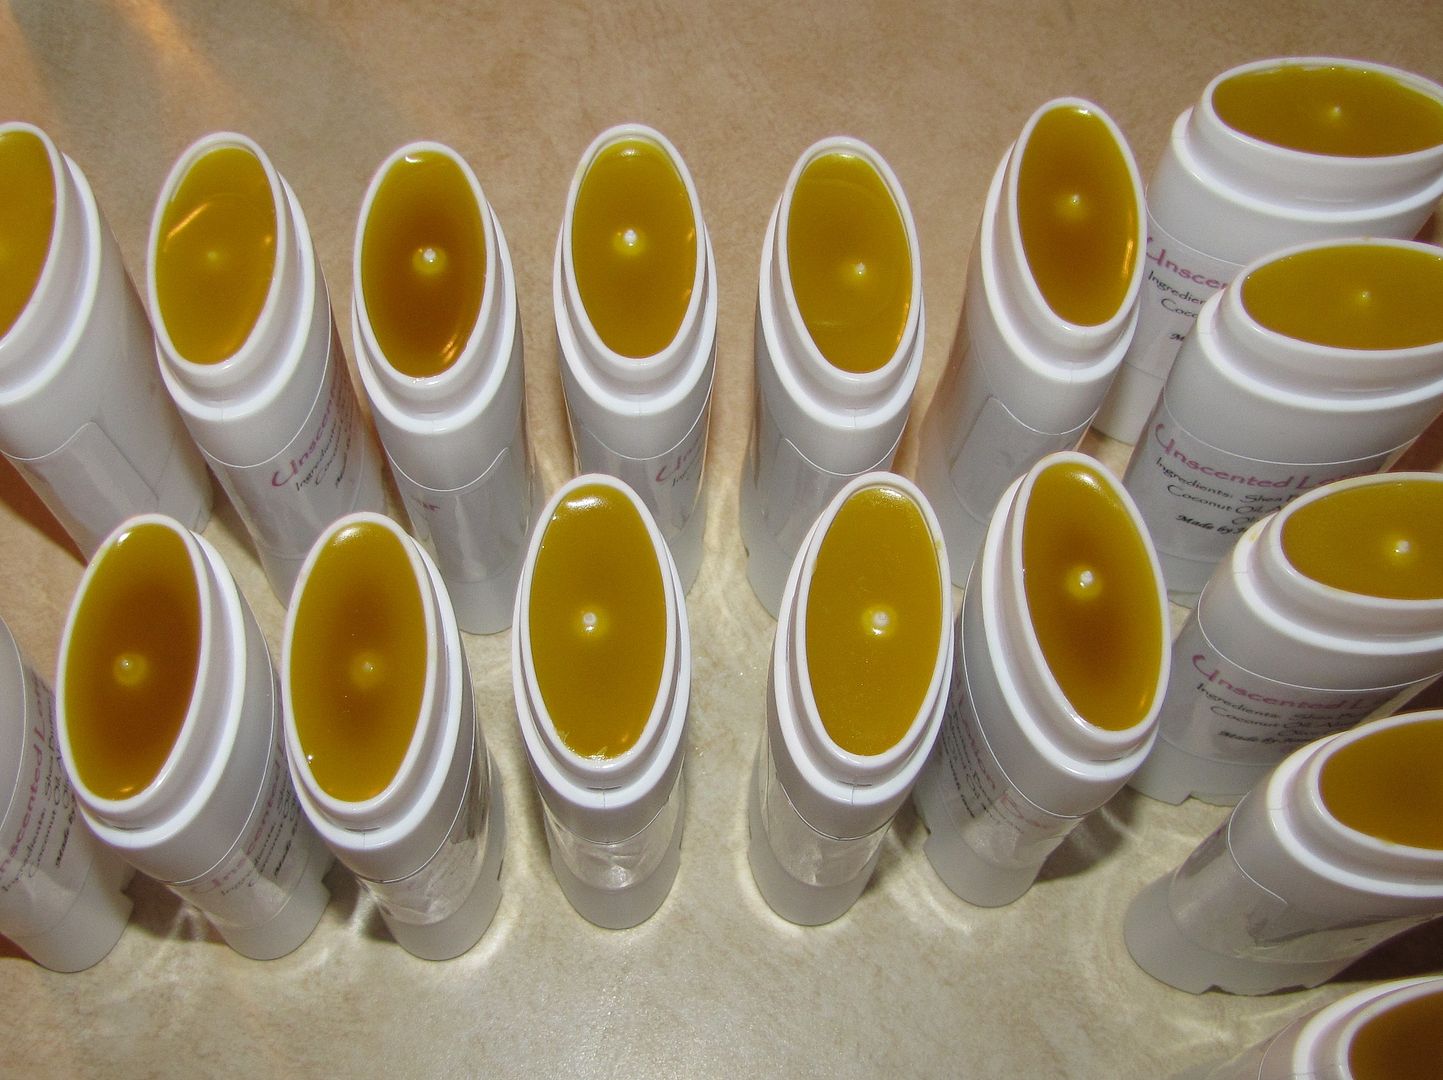
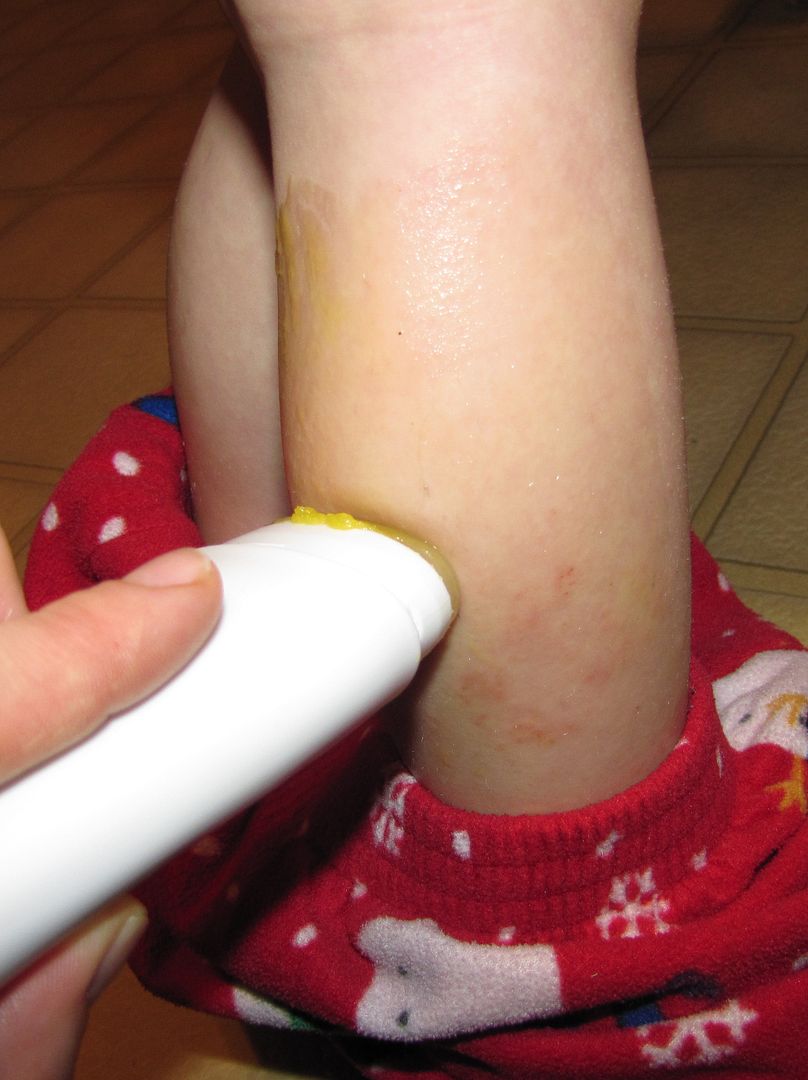
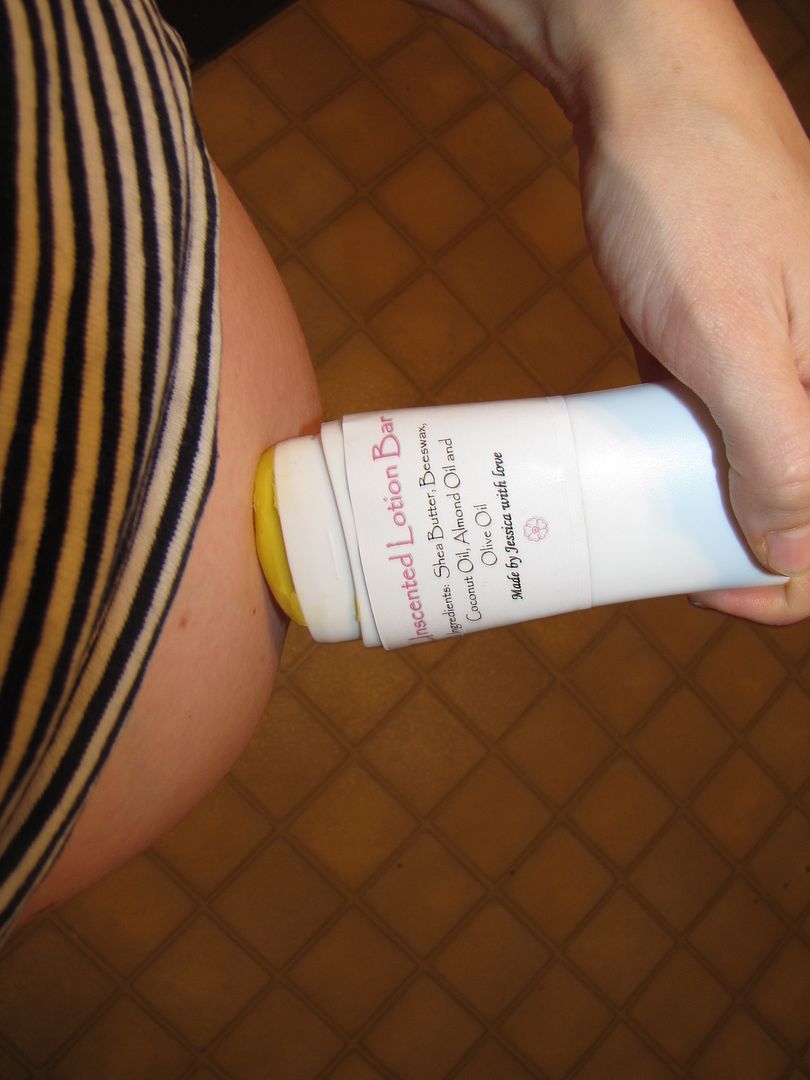
Either way, the lotion bars are very easy to apply this way, leaving your hands grease-free.
It's easy to apply on my son's eczema patches on his legs.
And it's also great for my pregnant belly.
If you want to give these as gifts, you can buy some shipping labels to add a cute touch. Just make sure to cover your paper label with some clear shipping tape or else it will get really greasy or even start to peel off after a while.
Total cost per 2 ounce deodorant bar was approximately $2.50. If I skipped the deodorant containers and just used recycled jars from around the house my cost would drop to about 90 cents per 2 ounces. Not too bad!
Have fun experimenting!
-Jessica

Hey Jess, where did you buy your deodorant containers? I need to get some. Not only for this awesome looking moisturizer, but also for my homemade deodorant. I'm getting tired of scraping it out of the jar with my thumbnail each morning. :-)
ReplyDeleteSorry I had a weird internet glitch. If I just posted the same comment an insane amount of times I do apologize!
ReplyDeleteI got them on amazon, Tara. They all different types.
ReplyDeleteThanks! Guess I should have thought of that. :-)
ReplyDelete