Monday, October 7, 2013

Preserving Winter Squash

We're nearing the end of my squash preserving frenzy and I thought I would share some tips on how to store it so that you will have plenty of your favorite locally-grown squash to enjoy through the winter and spring months.

Squash Pancakes - Yum!

Winter squash is high in carotenoids and antioxidants, and has anti-inflammatory, anti-diabetic, and insulin-regulating properties.  It's packed with Vitamin A and research is showing that it may play a role in cancer prevention.

It is extremely important that you only consume organic winter squash because it can pull contaminants out of the soil.  If you find a good source for locally-grown organic squash, make sure to stock up on it and start preserving.

The wonderful thing about squash is that it can last 3-6 months before rotting if stored properly (temperature controlled).  If you plan to keep your squash whole after harvest, make sure not to consume any that may end up bruised during storage, because once bruised they are susceptible to rot and bacterial growth.

Canning squash in chunks is possible with a pressure canner, but you are not supposed to can the puree due to its density.  Of course, it is possible to can the puree, since it is sold that way in stores, but it is not something I would advise messing with at home, as the chance for food-borne illness is higher with dense foods like pumpkin.

If you have the freezer space, the best way to preserve squash is in puree form.  It's extremely easy!

First, cook your squash.  I prefer to just throw it whole into a stockpot full of water and let it simmer until cooked.  If you want to soak and consume the seeds, you'll need to slice and scoop them out before cooking, as the heat will make them unsproutable.  Then you can steam or bake your sliced squash.

Once cooked, slice the squash, scoop and toss the guts, and then throw the meat into your food processor, blending until it is the desired texture.  Pureed squash is a wonderful staple to have on hand in your fridge, as it can be added to soups, grain-free baked goods, and casseroles for an added vitamin punch.

Use a dry-erase marker on your jars for labeling

I prefer to freeze my squash in ice cube trays.  One cube equals approximately two tablespoons, making it easy to add the desired amount of squash to recipes.  If you were to freeze it in a large solid chunk, you would have to thaw and measure for future use.  The ice cubes also make convenient baby food serving sizes.  Just pull out 1-2 cubes the night before and in the morning you'll have thawed baby food ready to go.  You can even throw them in a mesh feeder to give your teething baby some relief and nutrition at the same time.


Once your cubes freeze, transfer them to plastic baggies or whatever glass freezer storage system you like to use.  It will last about a year in the freezer.

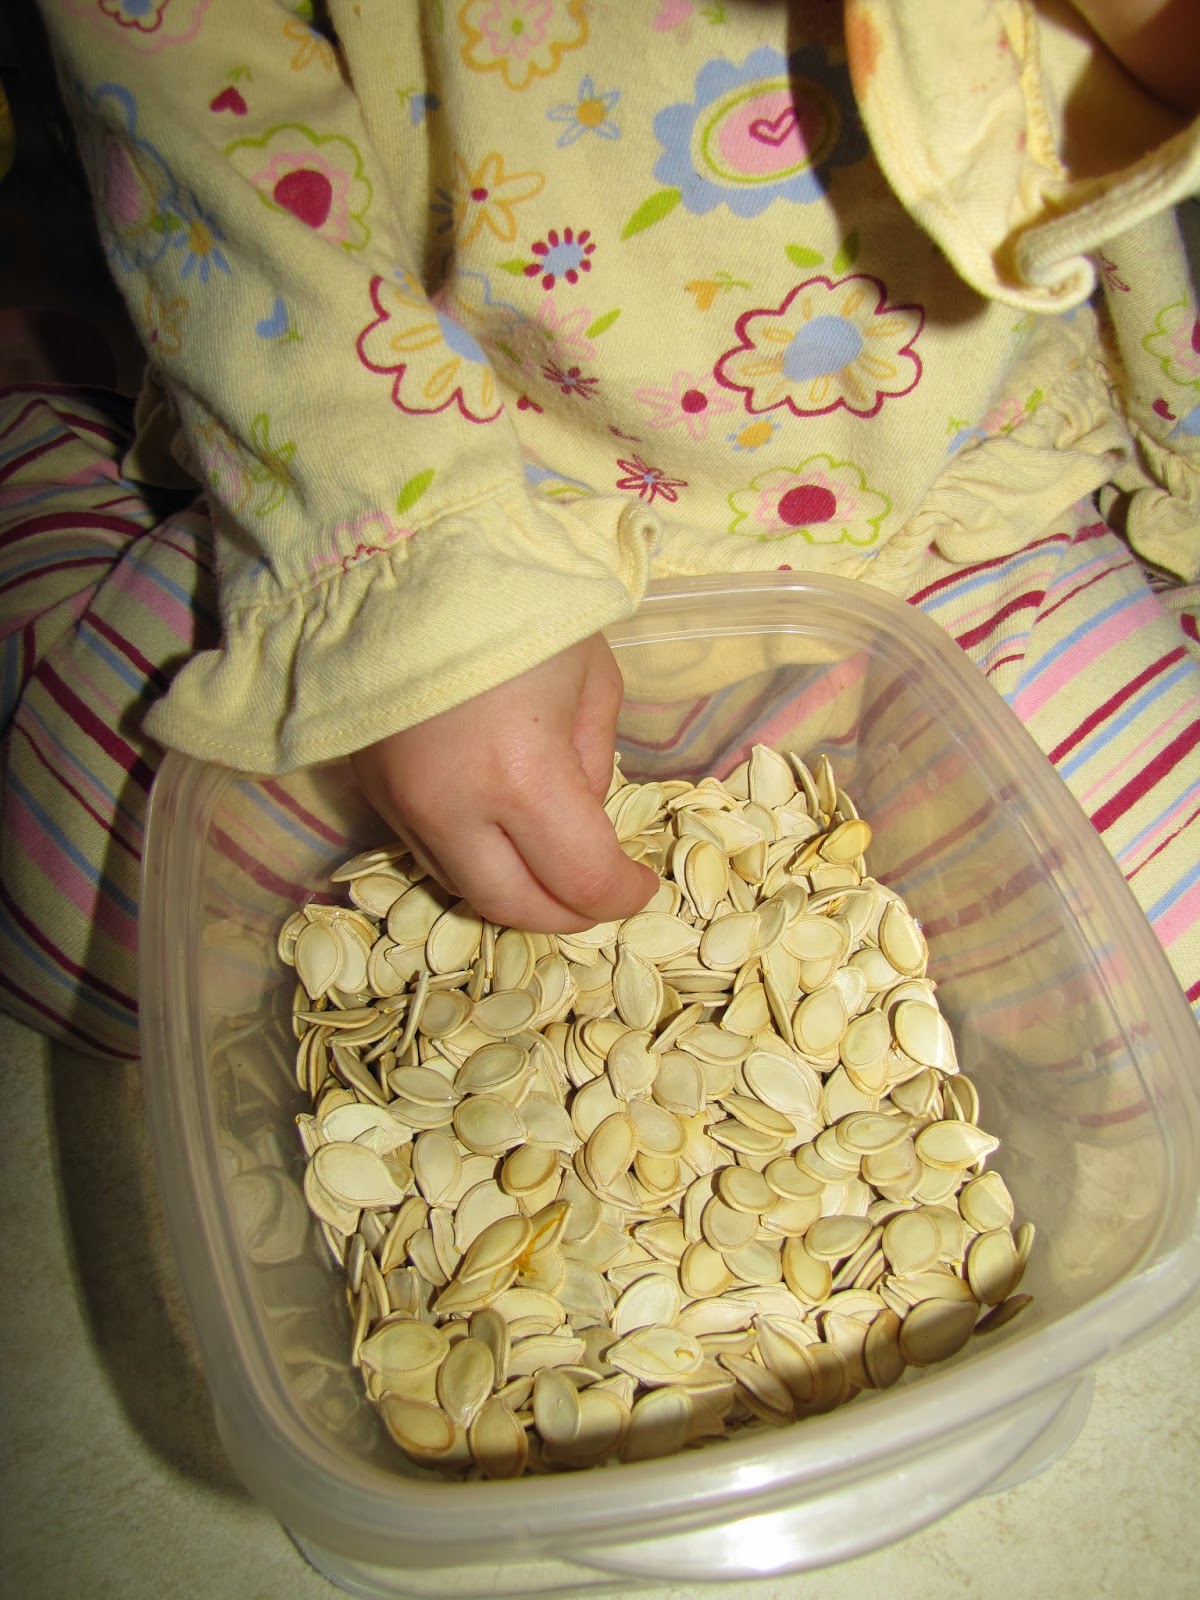
Squash seeds, if you are able to eat them, are a really nutrient-dense snack.  They are high in unsaturated fat and protein, zinc, diverse forms of Vitamin E, and other anti-oxidants.  Remember, if you are planning to consume any seeds, you must first soak them to break down the enzyme inhibitors and phytates that make them hard to digest.  Just place your seeds in a container of water, add salt, and let it sit for at least seven hours before draining and dehydrating/cooking. 

If you would like to sprout your pumpkin seeds to add even more nutrients to this already nutrient-dense food, drain them after the initial soaking, let them sit and then rinse/drain again every 8 hours until you see the sprouts forming.  They will look like little white tails.


I prefer to dehydrate my pumpkin seeds in the oven.  I lightly salt them and place them on a cookie sheet on the lowest setting my oven provides (170) for a few hours or until they are crispy.

These goodies never last long around here!

So stop decorating with those delicious pumpkins, gourds and squash, and start eating and preserving them.  Winter is just around the corner!

-Jessica

Wednesday, September 11, 2013

Preserving Apples

It's that time of year again!  Pretty soon beautiful bushels of fresh, locally-grown apples will start filling every corner of my house, just waiting to be preserved.


Apple season is usually extremely busy in our household.  I spend approximately two whole weeks in the kitchen washing, peeling, coring, and preserving them because they are some of my family's favorite treats.

Did you know that even the organic apples and pears sold in the grocery store are sprayed with antibiotics?  Apples and pears are the only two foods in the United States that are allowed to be full of antibiotics and still display the organic label.  This is a huge problem that is being widely debated and the hope is that by 2016 it will no longer be allowed.  These antibiotics play a role in gut health and antibiotic resistance, so it is really important that we stop this practice, especially among organic growers.

Since apples and pears are so vulnerable to bacteria and infections that can kill the trees, it is almost impossible to grow them without spraying.  There are alternatives, but they are too costly for the average farmer.

Because of this, whenever I get my apples, regardless of the organic-labelling or not, I do a thorough washing in vinegar.  Water alone is not enough.  The vinegar will kill 98% of bacteria, pesticide residue, and anything else that may be on the peels.  Just fill your sink (sanitized with vinegar) with the apples, cover with water, and add two cups of vinegar.  Let them soak for about ten minutes (apples obviously want to float, so just make sure that you push them under and mix them around every few minutes), drain the sink, and then rinse them before eating or preserving.


Here are my essential tools for apple preservation:

Apple Peeler
Apple Corer
Large Stockpot
Large Wooden Spoon
Food Processor*
Canning Supplies (water bath canner, mason jars/lids, tongs)
Juicer
candy thermometer
Dehydrator
Freezer Bags/Containers

*some people prefer to throw their apple in with the peels and then use a food mill when they cook down.  I prefer the consistency of the applesauce when I peel them first and then puree with a food processor after they have cooked.

To can my applesauce I use my peeler to peel and core, and then throw the apples into my stockpot with a small amount of filtered water to prevent sticking.  Once the apples have cooked down a little and have softened, I run them through the food processor until they are completely pureed.  My children prefer a very smooth applesauce and this method seems to work best for obtaining the desired texture.  After it is pureed it goes back into the stockpot until it reaches a boil.  Then I fill my jars with 1/2 inch headspace and process them for twenty minutes in the water bath.

Toward the end of my preserving marathon I sometimes get lazy and stop peeling apples.  I will simply cut the apples using my corer and throw them, peels and all, into the stockpot to cook down (make sure you used the vinegar wash if you're going to do this).  When you put the apples into the food processor they will still blend down to a nice puree, but it won't be as smooth as without the peels and you will see little slices of peel in the jars.  My kids don't really notice a difference, but I definitely prefer the sauce without the peels.  We can go through 2-3 quarts of sauce each week (100+ each year), so when you're canning in those quantities you sometimes have to cut corners to get it all done!


Apple Juice is another favorite of mine.  When I get to the end of my canning session it's a really easy way to use up apples and preserve them.  I just throw my halved apples straight into our juicer (we have the Jack LaLanne) and then heat the juice that comes out to 190 degrees (I use a candy thermometer to check).  You are not supposed to boil the juice.  Once it reaches the temperature I ladle it into my jars with 1/4 inch headspace and process for ten minutes in the water bath.

If you don't have a juicer you can do it the old-fashioned way - throw your chopped apples into the stockpot with water (1 quart filtered water per 12 pounds apples) and once they have cooked down you can strain them through something like cheesecloth to get the juice.


Freezing is a wonderful way to preserve your apples.  Most canning books will tell you to treat your apples with a produce protector before freezing to prevent darkening, but I've never done it and haven't had a problem.  The frozen apples do discolor a little bit, but since you're usually using the frozen apples for things like pies and cobblers, the discoloration doesn't really matter.  My favorite use for frozen apples is in stove-top potpourri.  I throw a cup of the apple slices in a pot with some water, cinnamon sticks, whole cloves, and dehydrated mint, and put it on simmer.  The smell is amazing and a great alternative to chemical-filled candles and air-fresheners.


Dehydrating apple rings is another great way to preserve apples.  If sliced thinly enough they will turn crispy like a chip - a favorite for my children.  If the slices are a little thicker they will be somewhat chewy, but still tasty.

The best way to ensure thin slices is to use an apple peeler.  When you're done you get nice apple rings that are uniform in size and fit nicely on your dehydrator tray.  I usually fill my dehydrator in the morning and by dinner they are ready (every dehydrator is different).

I've made my apple chips both with the peels and without and they are both equally delicious.


I hope you have a wonderful apple preserving season!  There is so much you can do with this delicious fruit to ensure that you will enjoy it all through the winter months.  If you are interested in recipes for things like apple butter, apple pie filling, or other sugary treats, I've always had good luck with the Ball Blue Book.  I like to use tried and true recipes to ensure that what I make will be preserved safely.

Happy (almost) autumn everyone!  And remember - an apple a day keeps the doctor away!

-Jessica

Friday, August 23, 2013

Making and Preserving Homemade Chicken Broth

Note: People often use the terms stock and broth interchangeably. Essentially, they are the same thing - water flavored with bones, meat, and vegetables. The main difference is that broth is seasoned and stock is not. I like to flavor before preserving, therefore what I make is a broth, but if you were to leave out the flavoring, you could have a bland stock to season as needed with your recipes.

As I am reaching the height of my canning season, I am working on a series of posts about food preservation. I think the best place to start is with homemade stock.

Do you ever wonder what to do with the carcass after you roast a whole chicken? Making a bone stock or broth out of it is easy and saves you a ton of money. Throughout history bone broths have been known to have healing effects: mitigating cold symptoms, helping with inflammation, relieving digestive issues, and just giving us a sense of comfort when we're under the weather.

The most common brands of broth, like Swanson, are misleading in their advertising.  Many brands contain MSG, a neurotoxin, so Swanson wants us to know theirs is healthier and makes sure to label it as "all-natural" and "MSG-free".  The problem is that Swanson chicken broth contains yeast extract, which means the broth does in fact contain MSG.  It's a labeling trick that is dishonest.  To learn more about MSG and yeast extract, read this.

Buying a good, organic bone broth in the grocery store is difficult, not only because they are often seasoned with items you don't want, but they are pretty expensive.  Take Pacific Foods Free Range Organic Chicken Broth, which contains organic chicken broth (filtered water, organic chicken), organic chicken flavor, (organic chicken flavor, sea salt), natural chicken flavor (chicken stock, salt), organic evaporated cane juice, organic onion powder, turmeric, and organic flavor.  I don't know about you, but I have no idea what "organic flavor" is and I prefer that there isn't hidden sugar in my broth. Besides, for $4.00 per 32 ounces, I would at least like to see some veggies in the broth.

Instead of spending so much on nutritionally inferior broth, why not make your own out of something that costs you nothing extra, as you intend to throw the carcass in the garbage anyways?

All the equipment you need to make your own broth is a large stock pot, something to strain it with (like cheesecloth), and eight quart-size canning jars/lids.  I use my Cuisinart 12 Quart Pasta Pot because it allows me to throw all of my ingredients in the pasta insert and once the broth is done simmering I can pull the solids out without having to strain the broth through anything.

If you don't have a pasta insert, just throw your carcass, veggies, herbs, and seasonings straight into your stockpot and strain it when it is done.

Remember not to use a stock pot coated with Teflon or other non-stick coatings and additives.  It makes little sense to worry about your food additives while cooking with pots that contain carcinogens. 

MAKING THE BROTH
8 quarts filtered water
1 organic, free-range chicken carcass
3-4 organic carrots
3 organic green onions
2 cloves organic garlic
10-15 whole peppercorns
2 T sea salt

I do not add herbs now, because I prefer to add them directly to whatever food I am using the broth as a base for, but you could add some now if you want to - bay leaves or rosemary would be nice.

Bring the water to a boil and then let it simmer on the stove for about four hours.  If you have your solids directly in a stock pot you're going to want to stir it every now and then to make sure the veggies aren't sticking to the bottom.  If you're using the pasta insert it is not necessary.

After four hours you have a delicious broth that you can either preserve by freezing or canning, or put directly in the fridge, where it will last for about one week.  Freezing is a great option if you have the space for it, however, I prefer canning my broth so I don't waste precious space in my deep-freezer.

CANNING THE BROTH

To preserve your broth you are going to need a pressure canner.  I have a Presto 16 Quart canner and it is easy to use, although quite intimidating the first time.  If you've never used a pressure canner you may want to invite someone over to help you initially, as it is very different than using a water bath canner.

My canner fits 7 quart-size jars, and since I prepare 8 quarts of broth at once (1 inch of headspace), I leave one in the fridge for immediate use.  The rest go into the canner for 25 minutes at 10 psi.


And there you have it - 8 quarts of delicious homemade broth to use as a base in your soups and other meals.  Not only is it nutritionally superior to what you can buy in the store, but it saves you about $32 if you were buying the same quantity of organic broth there.

In case you're wondering, you CANNOT preserve broth with a water bath canner.  It is a low-acid food, which needs to reach 240 degrees for a specific period of time in order to kill the bacteria that would spoil it.  A water bath canner cannot reach that temperature.

 -Jessica

Thursday, August 15, 2013

Homemade Toothpaste

My husband and I went fluoride-free about six years ago when we started to learn about the potential dangers of ingesting it and the role it could have been playing in the flares of my Crohn's Disease.  We bought a reverse osmosis filtration system for our drinking water to eliminate all fluoride and began trying out different brands of fluoride-free toothpaste.  

I've tried countless different brands of toothpaste over the years and have enjoyed the flavors of some and the results of many, but the prices have been pretty outrageous.  Then when we started having children and needed to find a toothpaste that was safe for little ones to swallow we became even more frustrated. Not only were the fluoride-free toothpastes marketed to children overpriced, but they tasted terrible.  No wonder my children were protesting having their teeth brushed, because I nearly gagged the first time I tried their BabyGanics toothpaste!  It was like rubbing my teeth with a glob of artificially-sweetened strawberry goo.

If you do a search online for homemade toothpaste you'll find a million different recipes.  Different people like different tastes and formulas.  When I began putting together my recipe I knew I wanted every ingredient to be something I would actually eat (which meant no xylitol or glycerin) and something that would remineralise my mouth.

Our teeth are very porous and as we age, those pores become bigger from a loss of minerals, causing an increased risk of tooth decay.  It isn't that a poor diet high in sugar itself causes cavities, it's that the poor diet, low in vitamins and minerals and high in sugar, causes a loss of minerals and thus an increased risk of cavities.  Dr. Weston A. Price did a lot of research on this topic if you're ever interested in reading more about it.  Putting minerals into our mouths through our toothpaste is an important part of dental hygiene.

As I mentioned, there are a million different homemade toothpaste recipes out there.  This is what works for me.

1/4 cup Calcium & Magnesium pills crushed - for remineralisation

1/4 cup coconut oil - it's antimicrobial/antiseptic

2 T. baking soda - it's an abrasive that also neutralizes stains and odors

2 T. honey - helps preserve the toothpaste and gives it a good taste

1 T. filtered water - helps with texture

40-50 drops of essential oil - for flavor; I use peppermint

It's extremely simple to make.  I use my little bullet blender and throw in the pills with the coconut oil.  Once the pills are crushed a bit I add everything but the essential oils (you don't want your oils to get too hot) and then let it blend until it is a smooth paste.  After that is done I add my oil and do a quick mix.  When you're done you have something that looks like grey puddy.


The texture is not so thick that you couldn't put it in a hand-pump or some type of tube for easy application, however, I prefer to just scoop it into a half-pint canning jar and dip my toothbrush straight into it.  If you're a little more worried about germs, you might want to consider something else.


You don't have to worry about your toothpaste going bad.  The honey and coconut oil will help to prevent bacteria and if you only make the half-pint it will be gone quickly anyways.

Wednesday, August 14, 2013

LOTW - Arsenic in Chicken

Here is the link of the week: FDA Finally Admits Chicken Meat Contains Cancer-Causing Arsenic


Highlights of the article:


Arsenic has been added to chicken feed for the last sixty years and the poultry industry and FDA have said it does not end up in the meat.


The FDA is claiming that the levels of arsenic are too low to cause any harm, even though the chicken feed (manufactured by a subsidiary of Pfizer, of course) has now been pulled off the market in the United States. 


The poultry industry and FDA have known for years that chicken feces contains this arsenic.  That feces (chicken litter) is fed to cows that are factory raised, which of course contaminates the beef as well.


If you thought you needed yet another reason to avoid the meat sold in your supermarket, you now have it.  Buy locally-raised, pastured meat!

Monday, July 15, 2013

Homemade Sauerkraut

It's grilling season and my family loves a good steak or burger, but research tells us that cooking meat at high temperatures creates compounds that have been linked to cancer.  One way to clear your body quickly of those cancer-causing compounds is to make sure you eat some type of cruciferous veggie with your grilled meat.  These veggies contain sulforaphane, a molecule that helps fight cancer and microbes.

This makes sense, right?!  This is why a grilled bratwurst tastes so good slathered in sauerkraut.  It's the perfect combo for your health.

Sauerkraut is one of my husband's favorites.  I'm not a huge fan, but I tolerate the taste because I know it's good for you.  Besides being the perfect compliment for grilled meat, sauerkraut is great for digestion in general.  This is because of the lacto-fermentation process the cabbage goes through.

Many times, the sauerkraut you buy in the store has gone through a pasteurization process, which kills the good bacteria and negates these benefits to your digestive system.  To avoid this, why not make your own?  Sauerkraut is one of the easiest things to make and is really cheap.  You can get a fresh head of cabbage from the Farmer's Market for next to nothing, whereas a can of quality kraut at the store can cost you around $5.

To make my sauerkraut, I use nothing but sea salt and cabbage.  Many recipes call for homemade whey to give a little boost of Lactobacilli, but since we have a child with dairy allergies in the house that we want to share the sauerkraut with, we skip it.  Our kraut turns out just fine without it.

Here is how I make sauerkraut without a special crock.  Start with your cabbage.


Core and shred it.  Then add three tablespoons of sea salt (if you're using whey you use less salt - 1T salt/4T whey).


Now you start pounding.  I use a meat hammer and just beat and beat and beat at the cabbage until all of the juices are out of it.  It takes 10-15 minutes.  It's a good arm workout, which I guess is another health benefit of homemade kraut ;)


If you get tired, find some little helpers to beat it for you for a while.  It makes for a good science lesson. :)


Once you're done beating the cabbage, pack it into your canning jars.  For one medium head of cabbage I can usually get one quart plus one pint.  You want at least one inch of headspace and make sure all of the cabbage juice covers the cabbage in the jar.  In order to pack it in that way I use a large wooden spoon and press it down.

Make sure you completely seal your jars and place them on your counter to ferment for at least 3 days.  Once they are sealed, don't open the lid or you'll ruin the process. 

Here is my sauerkraut next to my sourdough starter.  That's a whole lot of fermentation going on!


After your three days you want to make sure to store your kraut somewhere cool.  You can use the fridge if you want.  I just put mine down in my basement food storage area with the rest of my canned goods.  You could technically eat your kraut after three days and you would get the benefit of the bacteria, however, sauerkraut is one of those things, like wine, that gets better with age, not just in terms of flavor. 

Remember that you don't need to use a water bath or pressure cooker to can your kraut.  In fact, the heat would kill the good bacteria.  The lactic acid preserves the cabbage, so you don't need to worry about bad bacteria until you open the lid.  Once it's open, make sure to store it in the fridge, where it will last for months.  And as with all home-canned items, check for signs of spoilage before you consume it.  If it looks like there is anything growing on your kraut or inside the jar on the top of the lid, if you see pink, or if there is seepage of some sort on the outside of the lid, it's better to be safe than sorry - don't eat it.

It is normal for your cabbage to lose it's bright green color with time.  That does not mean it is spoiling.  You'll notice that most krauts you buy in the store are more of a yellowish color than green.  Here is a batch of sauerkraut my husband made four years ago.  We will still eat it if it doesn't smell when we open it.


Cabbage is really cheap at this time of the year, so make sure to buy a few heads and start your own sauerkraut stockpile to get you through the winter.  Just make sure you buy organic cabbage that hasn't been sprayed!

Wednesday, June 19, 2013

I Love Bacteria

As someone living with Crohn's Disease, I am obsessed with bacteria (good and bad) and the role it plays in overall health.  While professionals in the world of alternative medicine have been screaming about this topic for decades, it seems that Western medicine is finally catching on.

An amazing article on the topic came out last month in The New York Times.  Written by Michael Pollan (author of some amazing books on food), the article titled "Some of My Best Friends Are Germs" talks about everything I've been trying to tell people ever since my diagnosis in 2006.  If you haven't read it yet, grab a glass of kombucha and settle in, because it's long, but extremely informative.

Basically, what Michael Pollan is trying to say is that our Western diets and medical model are horrible for the good bacteria in our body.  Antibiotic use, antibacterial obsessions, and processed foods DO have a negative impact on our bodies beyond antibiotic resistance and obesity. 

So, start eating those fermented prebiotic foods, stop worrying about cleaning your house, breastfeed those babies as long as you can, make sure you aren't accidentally eating antibiotics in your meat and dairy, and embrace the bacteria around you.  Life is dirty and sometimes that dirt is beautiful!